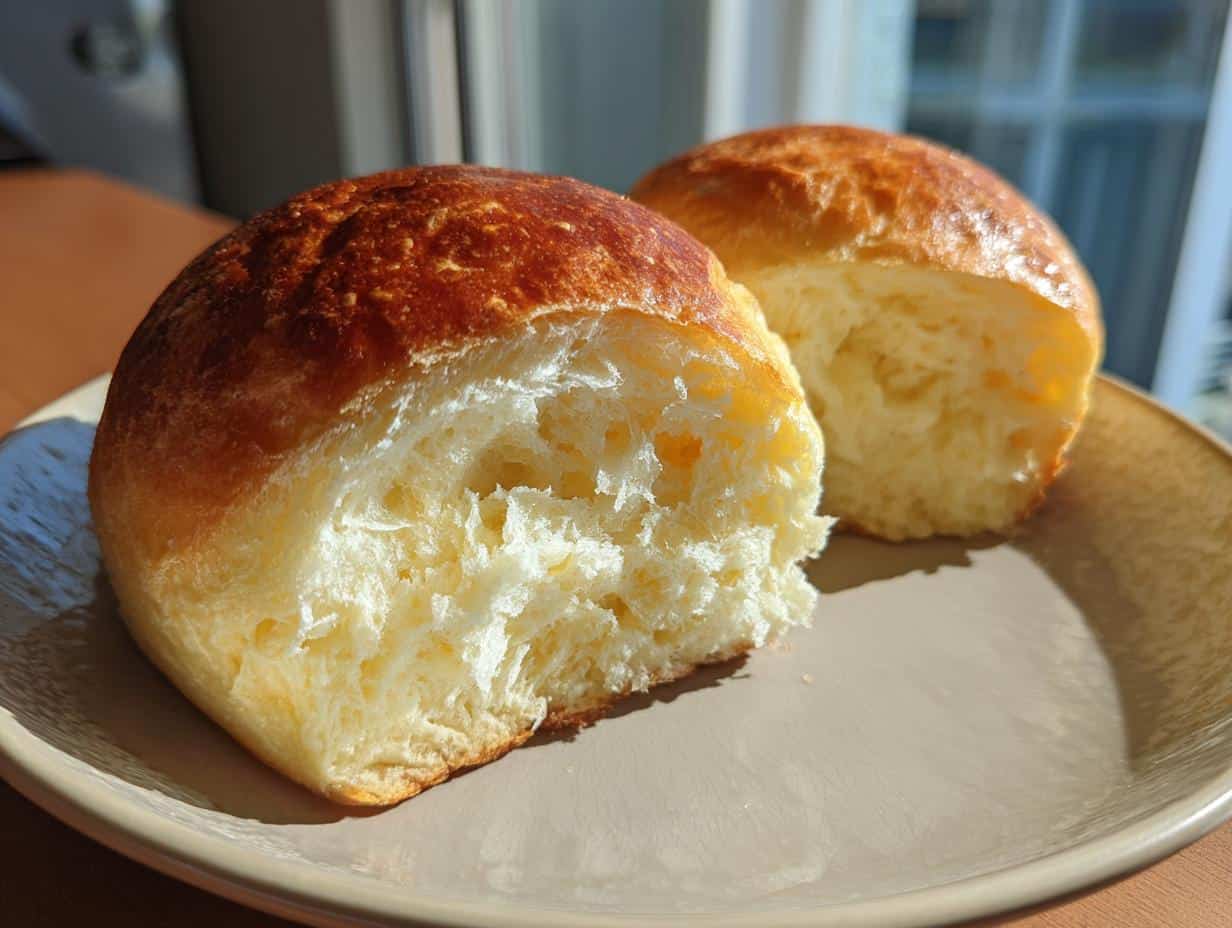
Okay, so, who doesn’t love a good Hawaiian roll? Seriously! Those fluffy, slightly sweet rolls are just *irresistible*. But if you’re like me and trying to avoid gluten, finding a decent gluten-free bread that doesn’t taste like cardboard is, well, a MISSION. I’ve tried so many, and honestly, they’re usually a letdown. That’s why I was determined to crack the code and create the *perfect* Gluten-Free Hawaiian Rolls. And guess what? I DID IT!
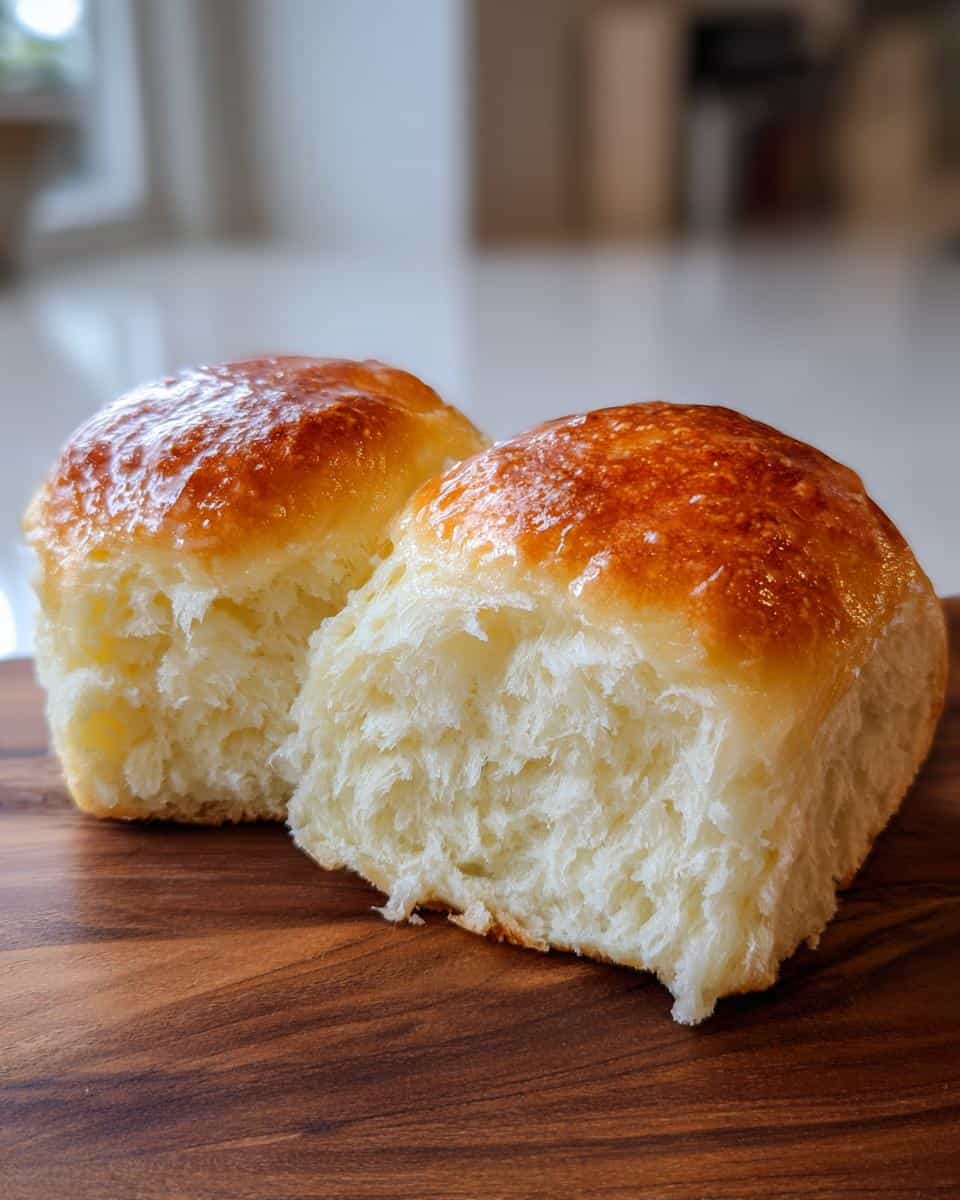
These aren’t just *okay* gluten-free rolls. These are legit, melt-in-your-mouth, taste-just-like-the-real-thing Hawaiian rolls. The secret? A blend of gluten-free flours plus a touch of pineapple juice for that signature sweetness and soft texture. Trust me, you won’t believe they’re gluten-free. I remember the first time I nailed this recipe – I practically ate half the batch myself! Seriously, if you’ve been searching for a gluten-free bread that actually delivers, this is it. Get ready for some seriously good rolls!
Why You’ll Love These Gluten-Free Hawaiian Rolls
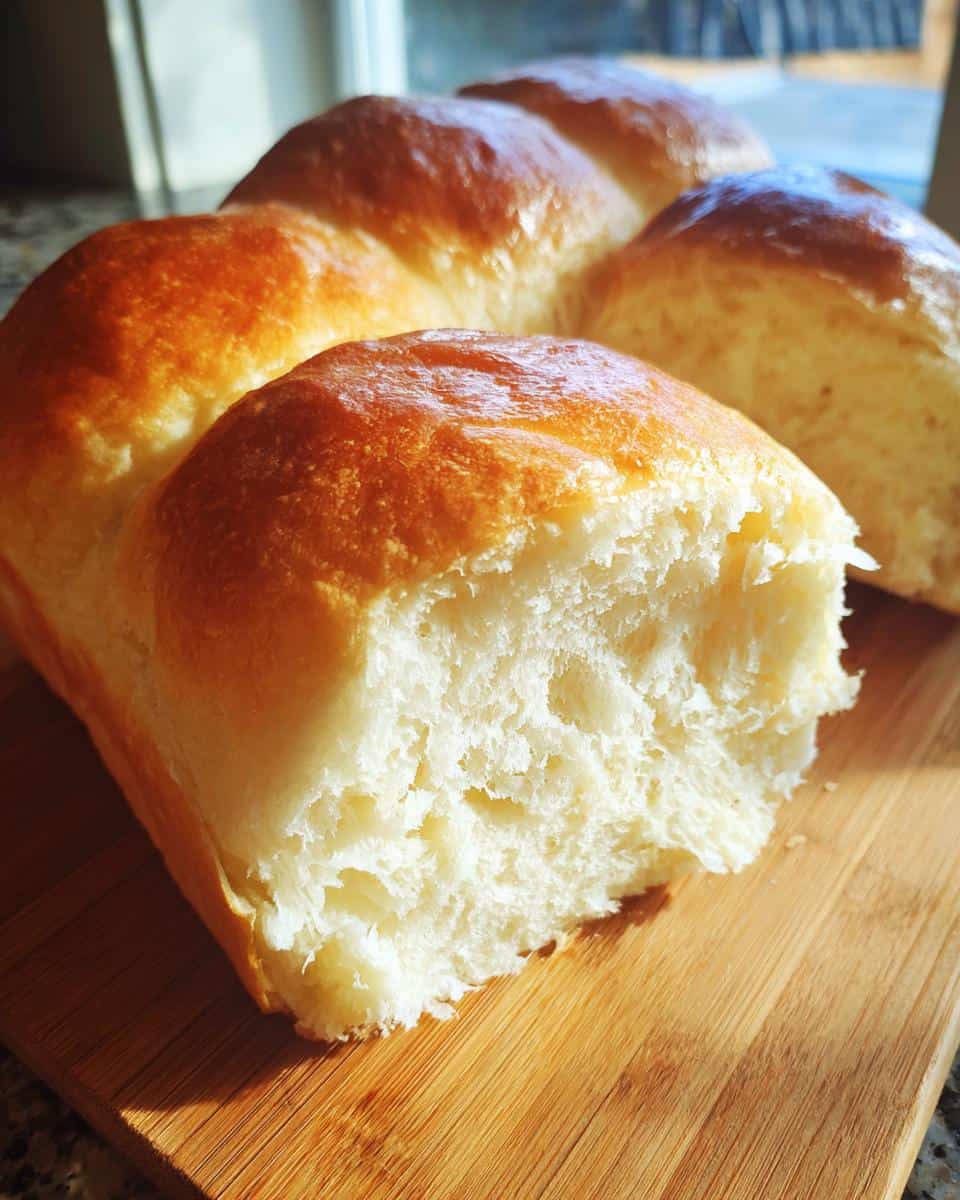
Soft and Fluffy Gluten-Free Hawaiian Rolls
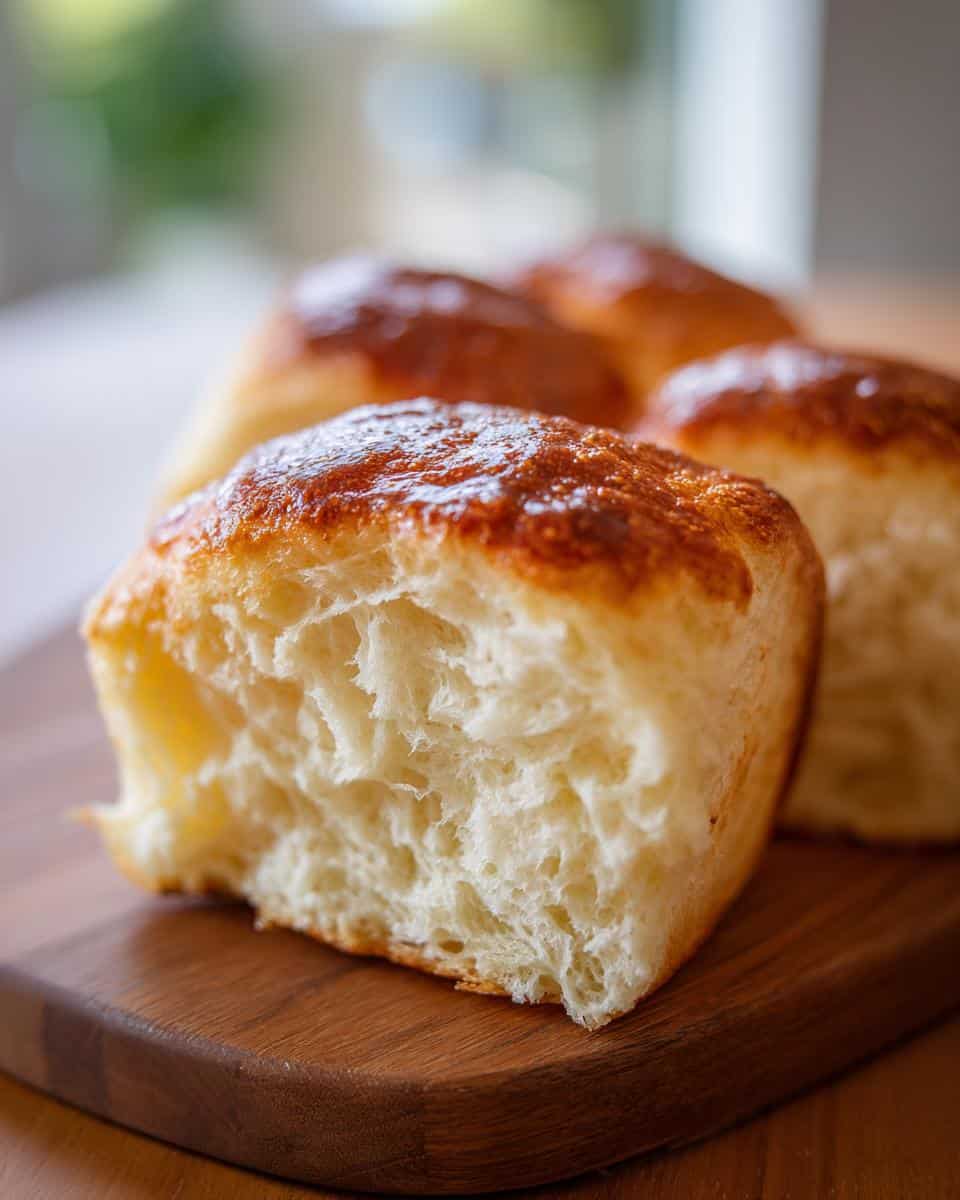
Seriously, you won’t believe how good these are! The texture is spot-on – soft, fluffy, and just like the real deal. No more dense, gummy gluten-free bread!
Easy to Make Gluten-Free Hawaiian Rolls
Don’t let gluten-free baking scare you. This recipe is surprisingly simple, with easy-to-find ingredients and straightforward steps. I promise, you’ve got this!
Perfect for Any Occasion
These rolls are *so* versatile! Use them for mini sliders, tasty sandwiches, or just serve them as a side dish. My favorite? Warm with a little butter…yum!
Ingredients for Your Gluten-Free Hawaiian Rolls
Okay, let’s gather our goodies! Here’s what you’ll need to whip up a batch of these amazing Gluten-Free Hawaiian Rolls. Don’t worry, most of this stuff is pretty easy to find at any grocery store. And trust me, it’s *totally* worth it! Make sure you have everything measured out before you start – it makes things SO much easier. Ready?
- 1 cup gluten-free all-purpose flour blend (make sure it’s a *good* one!)
- 1/4 cup tapioca starch
- 1/4 cup potato starch
- 1/4 cup granulated sugar
- 1 teaspoon salt
- 1 packet (2 1/4 teaspoons) active dry yeast
- 1 cup warm milk (dairy or non-dairy – your call!)
- 1/4 cup pineapple juice (trust me on this one!)
- 2 large eggs
- 1/4 cup unsalted butter, melted
How to Make Gluten-Free Hawaiian Rolls: Step-by-Step Instructions
Preparing the Dough for Gluten-Free Hawaiian Rolls
Alright, let’s get this show on the road! First, grab a big ol’ bowl and toss in your gluten-free flour blend, tapioca starch, potato starch, sugar, and salt. Give it a good whisk! Now, add in that yeast and mix it all up again. In a separate bowl, whisk together your warm milk, pineapple juice, eggs, and melted butter. This part smells SO good already!
Okay, here’s where the magic happens. Pour those wet ingredients into the dry ingredients and get ready to mix! You’ll want to mix it until you get a nice, smooth batter. Don’t worry if it seems a little thin – that’s totally normal for gluten-free dough. We’re not looking for bread dough consistency here; think more like a thick cake batter. A smooth batter is key for that perfect, fluffy texture!
Proofing Your Gluten-Free Hawaiian Rolls
Now for the waiting game… but trust me, it’s worth it! Grease up a 9-inch round baking pan – I like to use a little bit of cooking spray or even some melted butter. Pour your batter into the pan, smooth it out, and then cover it with some plastic wrap. Find a nice, warm spot for your dough to rise. I usually pop mine in the oven with *just* the oven light on.
Let it rise for about 1 to 1.5 hours, or until it’s doubled in size. Keep an eye on it! You want it nice and puffy, but don’t let it over-proof. You’ll know it’s ready when it looks light and airy. If it doesn’t quite double, don’t stress too much – gluten-free dough can be a little finicky. Just give it a little extra time.
Baking Your Homemade Gluten-Free Hawaiian Rolls
Time to bake! Preheat your oven to 350°F (175°C). Once it’s heated up, pop your pan of rolls into the oven. Bake for about 20-25 minutes, or until they’re golden brown on top. To check if they’re done, stick a toothpick into the center. If it comes out clean, you’re good to go!
If you notice the tops are browning too quickly, just loosely cover the pan with some foil. Once they’re baked, let them cool slightly before slicing and serving. And seriously, try to resist eating them all in one sitting! Good luck with that, though!
Tips for the Best Gluten-Free Hawaiian Rolls
Choosing the Right Gluten-Free Flour
Okay, listen up – this is *crucial*. Not all gluten-free flours are created equal! Seriously, using a cheap-o blend can totally ruin these rolls. I’ve had the best luck with blends that already have xanthan gum in them. It helps with the texture SO much. Trust me, splurge on a good quality gluten-free all-purpose flour, and you’ll thank me later! For more information on gluten-free baking, check out Celiac Disease Foundation.
Getting the Perfect Rise
A warm environment is your best friend when it comes to proofing gluten-free dough. Since it doesn’t have gluten to give it structure, it needs a little extra help to rise properly. I like to put mine in a slightly warm oven (just the light on!), or even on top of the fridge. Just make sure it’s not *too* hot, or you’ll kill the yeast! Be patient, and you’ll be rewarded with fluffy, delicious rolls!
Gluten-Free Hawaiian Rolls: Ingredient Notes and Substitutions
Dairy-Free Gluten-Free Hawaiian Rolls
Want to make these totally dairy-free? No problem! Just swap out the milk for your favorite non-dairy milk (almond, soy, oat – whatever floats your boat!). And instead of butter, use a good quality dairy-free butter alternative. I’ve had great results with coconut oil too, but it’ll change the flavor a bit, FYI!
Sweetness Adjustments for Gluten-Free Hawaiian Rolls
These rolls are meant to be a *little* sweet, but you can totally adjust the sugar if you want. If you’re trying to cut back on sugar, try reducing the granulated sugar by a tablespoon or two. You could even use a sugar substitute like stevia or monk fruit, but be careful, as they can sometimes affect the texture. Just play around with it until you find what you like!
FAQ About Gluten-Free Hawaiian Rolls
Can I use a different type of flour for these Gluten-Free Hawaiian Rolls?
Okay, so, here’s the deal: you *really* need a gluten-free blend for these Gluten-Free Hawaiian Rolls to work. Regular wheat flour? Nope, not gonna happen. And honestly, swapping out individual gluten-free flours can be tricky. The blends are designed to mimic the texture of wheat flour, so stick with that for the best results. Trust me!
How do I store these Gluten-Free Hawaiian Rolls?
These are best enjoyed fresh, but if you have leftovers (lucky you!), store them in an airtight container at room temperature for a couple of days. Wanna keep them longer? Pop them in the freezer! Just wrap them tightly in plastic wrap or foil first. When you’re ready to eat them, thaw them out and warm them up in the oven – they’ll be almost as good as new!
Why didn’t my Gluten-Free Hawaiian Rolls rise properly?
Ugh, that’s the worst, right? A few things could be to blame. First, make sure your yeast isn’t expired! Second, the milk needs to be warm, but not *too* hot, or it’ll kill the yeast. And finally, gluten-free dough can be a little slow to rise, so be patient and give it a little extra time in a warm spot. Don’t give up!
Serving Suggestions for Gluten-Free Hawaiian Rolls
Okay, so you’ve got a batch of these amazing Gluten-Free Hawaiian Rolls… now what? Well, honestly, they’re pretty darn good on their own! But if you want to take things to the next level, try them with some pulled pork sliders. Or, how about a side of grilled pineapple and a big scoop of mac salad? Talk about a flavor explosion!
Nutritional Information for Gluten-Free Hawaiian Rolls
Okay, so, here’s the thing: figuring out the exact nutritional info for these Gluten-Free Hawaiian Rolls is kinda tricky. It really depends on the gluten-free flour blend you use, plus the brands of all the other ingredients. So, the numbers I *could* give you would only be an estimate. Just keep in mind that the actual nutrition can vary, so this isn’t like, an exact science, okay?
Enjoyed This Gluten-Free Hawaiian Rolls Recipe?
Woohoo! So glad you tried these! If you loved them as much as I do, please leave a comment and rating below! And hey, sharing is caring – spread the gluten-free love on social media!
Print
9 Irresistible Gluten-Free Hawaiian Rolls: A Triumphant Recipe
- Prep Time: 20 minutes
- Cook Time: 25 minutes
- Total Time: 1 hour 45 minutes
- Yield: 12 rolls 1x
- Category: Bread
- Method: Baking
- Cuisine: Hawaiian
- Diet: Gluten Free
Description
Enjoy soft, fluffy, and gluten-free Hawaiian rolls. These rolls are perfect for sandwiches, sliders, or as a side dish.
Ingredients
- 1 cup gluten-free all-purpose flour blend
- 1/4 cup tapioca starch
- 1/4 cup potato starch
- 1/4 cup granulated sugar
- 1 teaspoon salt
- 1 packet (2 1/4 teaspoons) active dry yeast
- 1 cup warm milk (dairy or non-dairy)
- 1/4 cup pineapple juice
- 2 large eggs
- 1/4 cup unsalted butter, melted
Instructions
- In a large bowl, combine gluten-free flour blend, tapioca starch, potato starch, sugar, and salt.
- Add active dry yeast and mix well.
- In a separate bowl, whisk together warm milk, pineapple juice, eggs, and melted butter.
- Pour wet ingredients into dry ingredients and mix until a smooth batter forms.
- Grease a 9-inch round baking pan.
- Pour batter into the prepared pan and cover with plastic wrap.
- Let rise in a warm place for 1-1.5 hours, or until doubled in size.
- Preheat oven to 350°F (175°C).
- Bake for 20-25 minutes, or until golden brown and a toothpick inserted into the center comes out clean.
- Let cool slightly before serving.
Notes
- Use a high-quality gluten-free flour blend for best results.
- Ensure milk is warm, not hot, to activate the yeast.
- If the top of the rolls begins to brown too quickly, cover with foil during baking.
Nutrition
- Serving Size: 1 roll
- Calories: 150
- Sugar: 10g
- Sodium: 150mg
- Fat: 5g
- Saturated Fat: 3g
- Unsaturated Fat: 1g
- Trans Fat: 0g
- Carbohydrates: 25g
- Fiber: 1g
- Protein: 2g
- Cholesterol: 30mg

