Oh, chocolate. Is there anything more tempting? That rich, dark, velvety goodness just calls my name every time! And if you’re anything like me, you’re *always* on the hunt for the ultimate chocolate fix. I remember the first time I tried a molten lava cake – pure bliss! But honestly, they always seemed so fussy to make. That’s why I went on a mission to create something just as decadent, but way easier.
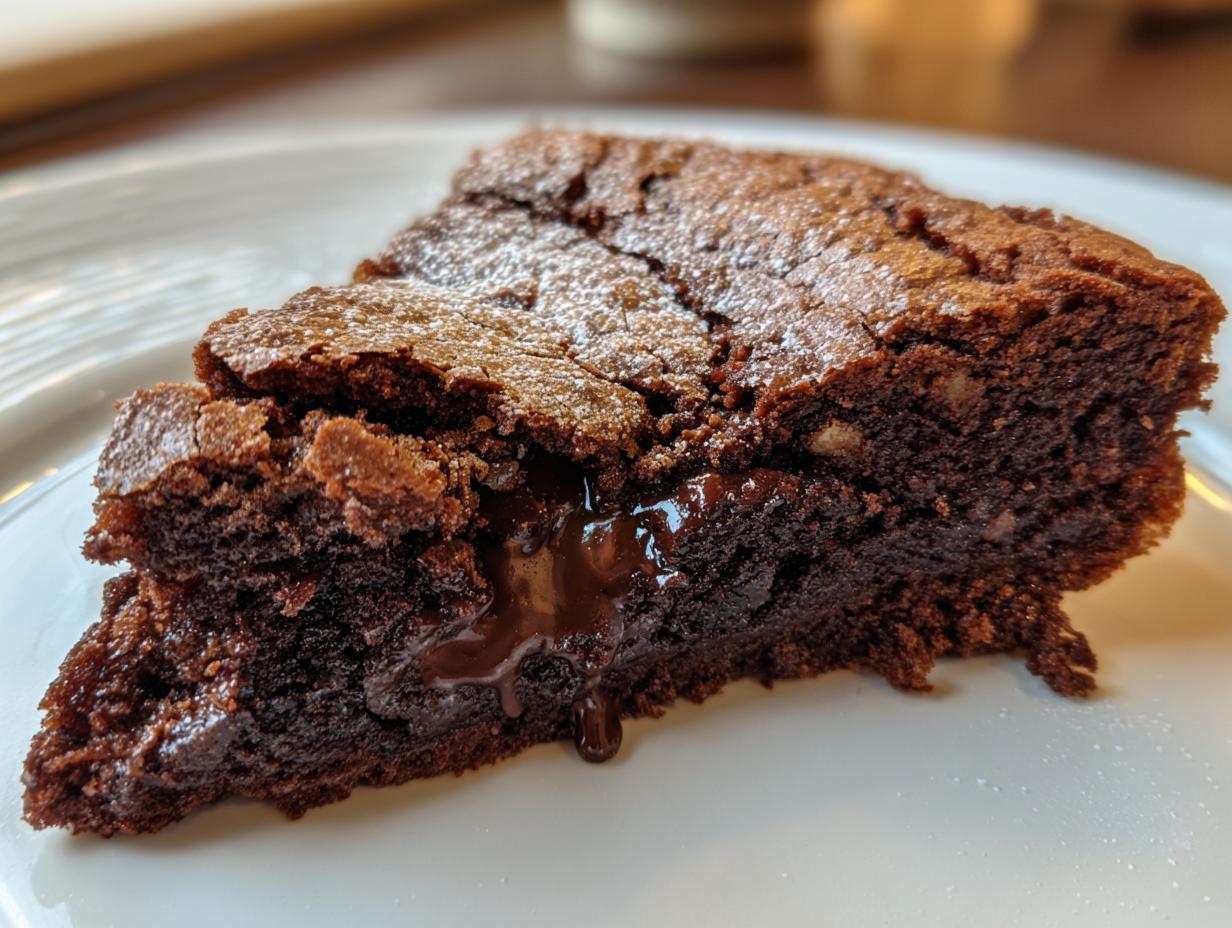
And guess what? I did it! Let me introduce you to my **Chocolate Earthquake Cake**. It’s got that amazing molten center you crave, but without all the drama. Trust me, this is one chocolate adventure you *need* in your life.
Why You’ll Love This Chocolate Earthquake Cake
Okay, so why should you try *this* chocolate cake recipe? Well, let me tell you! It’s got three HUGE things going for it:
Quick and Easy to Make
Seriously, you don’t need to be a pro baker for this one. It’s super simple, and the prep time is almost nothing. Promise!
Decadent Chocolate Flavor
We’re talking *intense* chocolate here, folks! The cocoa powder and chocolate chips together? Forget about it! So good.
The Amazing Molten Center
But the best part? That gooey, melty, chocolatey heart! It’s like a warm hug in cake form. You’ll be obsessed, I swear.
Ingredients for Your Chocolate Earthquake Cake
Alright, let’s talk ingredients! Here’s what you’ll need to make this magical **Chocolate Earthquake Cake** happen. Don’t worry, it’s mostly stuff you probably already have. You’ll need: 1 cup (that’s 2 sticks!) of unsalted butter, softened (very important!), 2 cups of granulated sugar, 4 large eggs, 1 teaspoon of vanilla extract (the real stuff!), 1 cup of all-purpose flour, ⅔ cup of unsweetened cocoa powder, ½ teaspoon of baking powder, ¼ teaspoon of salt, and last but not least, 1 cup of chocolate chips. Got it? Great! Let’s bake!
How to Make Chocolate Earthquake Cake: Step-by-Step Instructions
Okay, friend, ready to get baking? Don’t worry, I’ll walk you through it. It’s easier than you think!
Preparing the Oven and Pan
First things first: crank up that oven to 350°F (175°C). We want it nice and hot! While it’s heating, grease and flour a 9-inch round cake pan. This is *super* important, or your cake will stick. Trust me, I’ve been there!
Creaming Butter and Sugar
Now, in a large bowl (I use my stand mixer, but a hand mixer works too!), cream together the softened butter and sugar. Beat it until it’s light and fluffy. It should look like whipped cream, almost. This usually takes a few minutes, so be patient!
Adding Eggs and Vanilla
Next, beat in the eggs, one at a time. Then, stir in that vanilla extract. Mmm, can you smell it already? I love vanilla!
Combining Dry Ingredients
In a separate bowl, whisk together the flour, cocoa powder, baking powder, and salt. This just makes sure everything’s evenly distributed, you know? No one wants a bite of pure baking powder!
Mixing Wet and Dry Ingredients
Gradually add the dry ingredients to the wet ingredients, mixing until *just* combined. Don’t overmix! Overmixing makes the cake tough, and nobody wants that. A few streaks of flour are okay.
Stirring in Chocolate Chips
Now, stir in those chocolate chips! Yay, more chocolate!
Baking Your Chocolate Earthquake Cake
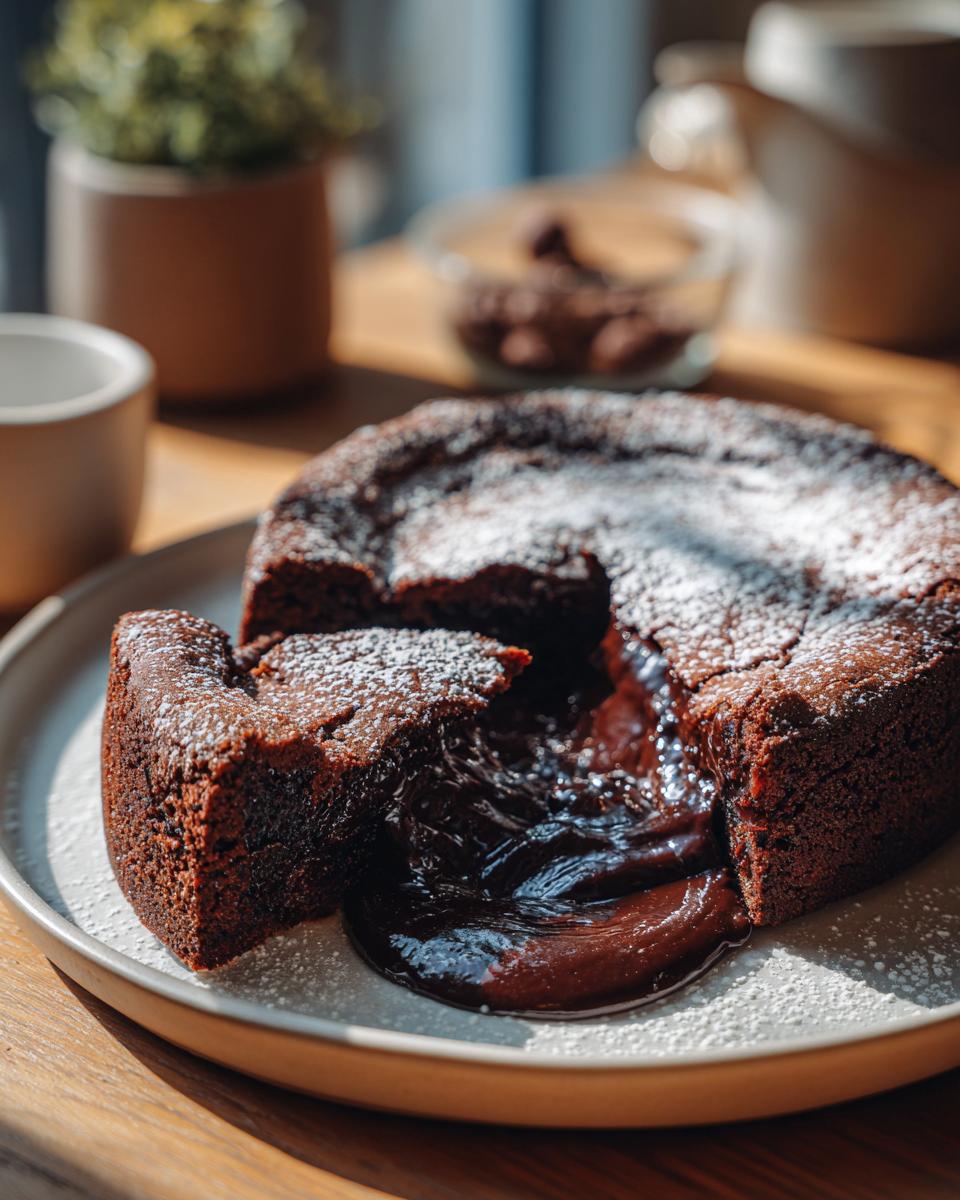
Pour the batter into the prepared pan and spread it evenly. Pop it in the oven and bake for 30-35 minutes. You’ll know it’s ready when a toothpick inserted near the edge comes out clean, but the center is still slightly soft. Remember, we want that molten center!
Cooling and Serving
Let the cake cool in the pan for 10 minutes before inverting it onto a serving plate. And that’s it! Prepare for chocolate heaven!
Tips for the Perfect Chocolate Earthquake Cake
Okay, so you wanna make sure your **Chocolate Earthquake Cake** is *amazing*, right? Here are my secrets for nailing it every single time!
Don’t Overbake
This is SO important! If you overbake it, you lose that amazing molten center. Keep a close eye on it, okay? Trust me on this one.
Use High-Quality Chocolate
Seriously, splurge a little on the chocolate chips! Good quality chocolate makes a HUGE difference in the flavor. My favorite part is that you can taste the cocoa, not just sweetness!
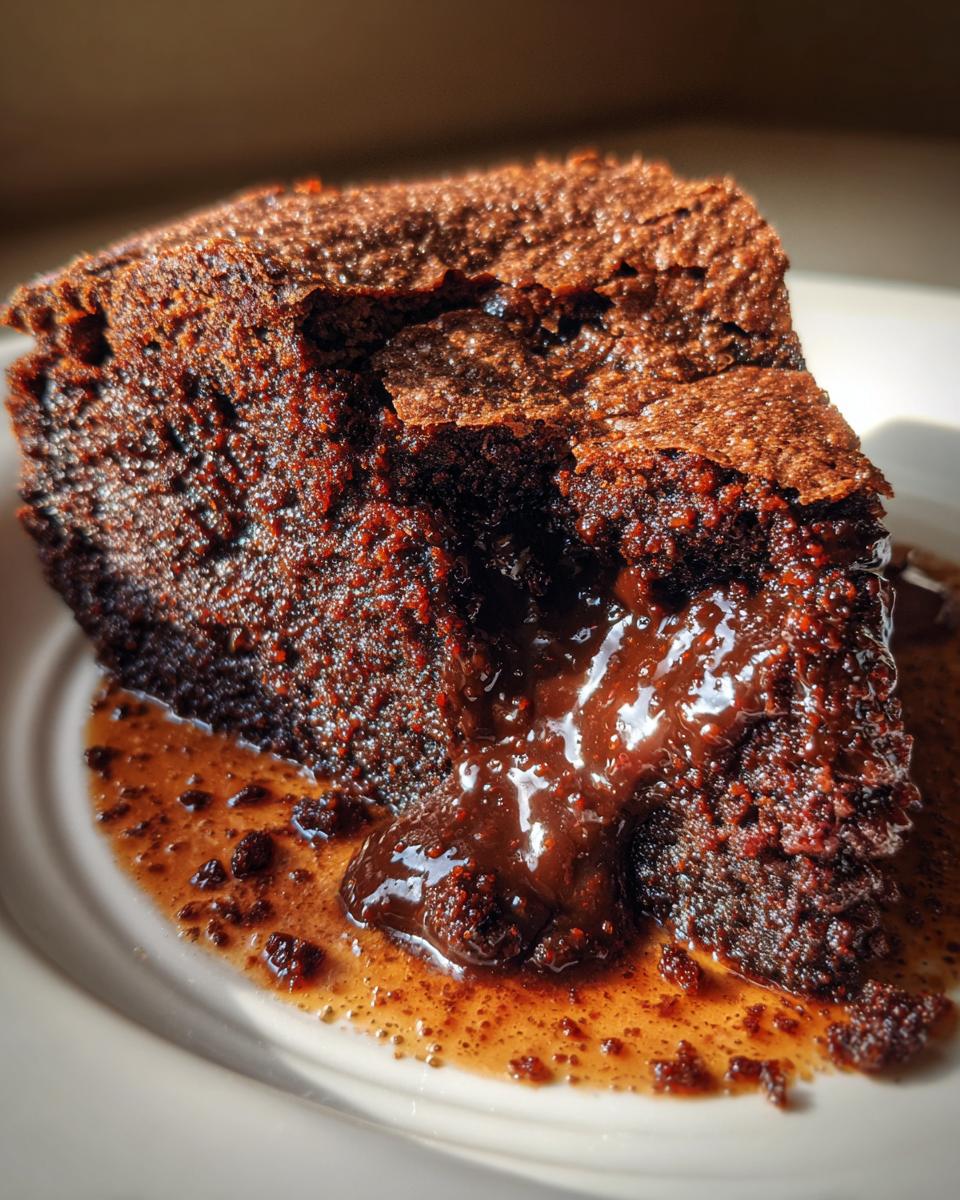
Serve Warm
This cake is best served warm, like *right* out of the oven (but cooled for a bit, of course!). That’s when that molten center is at its absolute best. It’s just… *chef’s kiss*!
Adjust Baking Time
Want your center *extra* molten? Reduce the baking time by a minute or two. Prefer it a little more set? Add a minute or two. It’s all about finding your perfect level of goo!
Frequently Asked Questions About Chocolate Earthquake Cake
Got questions about making this amazing **Chocolate Earthquake Cake**? I’ve got answers! Here are a few things I get asked all the time:
Can I make Chocolate Earthquake Cake ahead of time?
Well, you *can*, but it’s best fresh! The molten center is definitely at its peak right after baking. If you *need* to, bake it, let it cool completely, then wrap it tightly. It’ll keep for a day or two at room temperature. But honestly? Make it right before you want to eat it for the best experience!
Can I use different types of chocolate in my Chocolate Earthquake Cake?
Absolutely! Feel free to experiment! Dark chocolate chips will give you a richer, more intense flavor. Milk chocolate will make it sweeter. You could even use chopped-up chocolate bars instead of chips! Just make sure it’s good quality chocolate, okay?
How do I know when the Chocolate Earthquake Cake is done?
Okay, this is key! The toothpick test is your friend. Stick a toothpick into the cake *near the edge*. If it comes out clean, it’s done! But remember, the center should still be a little soft. That’s what gives it that amazing molten lava cake effect. If the toothpick comes out with wet batter, it needs a bit more time.
Storing Your Chocolate Earthquake Cake
Okay, so you somehow managed to not eat the *entire* **Chocolate Earthquake Cake** in one sitting? Wow, I’m impressed! If you have leftovers (seriously, how?!), just wrap them up tight in plastic wrap or pop them in an airtight container. They’ll keep at room temperature for a couple of days. To reheat, a quick zap in the microwave works wonders – just be careful not to overdo it, or you’ll lose that molten center magic!
Estimated Nutritional Information for Chocolate Earthquake Cake
Alright, so you’re probably wondering about the nutrition, right? Well, here’s the deal: It’s cake! A delicious one, but still… I’d say about 450 calories a slice, with roughly 25 grams of fat, 5 grams of protein, and 55 grams of carbs. But remember, this is just an estimate!
Share Your Chocolate Earthquake Cake Creations!
Okay, you made it! Now, I *need* to see your **Chocolate Earthquake Cake** masterpieces! Snap a pic and tag me on social media – I can’t wait to see them! And hey, don’t forget to leave a comment and let me know what you think!
Print
Unleash Intense Chocolate Earthquake Cake in 40 Minutes
- Prep Time: 15 minutes
- Cook Time: 35 minutes
- Total Time: 50 minutes
- Yield: 8 servings 1x
- Category: Dessert
- Method: Baking
- Cuisine: American
- Diet: Vegetarian
Description
Create a decadent chocolate cake with a molten center.
Ingredients
- 1 cup (2 sticks) unsalted butter, softened
- 2 cups granulated sugar
- 4 large eggs
- 1 teaspoon vanilla extract
- 1 cup all-purpose flour
- ⅔ cup unsweetened cocoa powder
- ½ teaspoon baking powder
- ¼ teaspoon salt
- 1 cup chocolate chips
Instructions
- Preheat oven to 350°F (175°C). Grease and flour a 9-inch round cake pan.
- In a large bowl, cream together the butter and sugar until light and fluffy.
- Beat in the eggs one at a time, then stir in the vanilla.
- In a separate bowl, whisk together the flour, cocoa powder, baking powder, and salt.
- Gradually add the dry ingredients to the wet ingredients, mixing until just combined.
- Stir in the chocolate chips.
- Pour batter into the prepared pan.
- Bake for 30-35 minutes, or until a toothpick inserted near the edge comes out clean, but the center is still slightly soft.
- Let cool in the pan for 10 minutes before inverting onto a serving plate.
Notes
- Adjust baking time for desired level of molten center.
- Serve warm with ice cream or whipped cream.
Nutrition
- Serving Size: 1 slice
- Calories: 450
- Sugar: 40g
- Sodium: 150mg
- Fat: 25g
- Saturated Fat: 15g
- Unsaturated Fat: 8g
- Trans Fat: 0g
- Carbohydrates: 55g
- Fiber: 3g
- Protein: 5g
- Cholesterol: 80mg